Backend Server
Backend server contains the following fields:
- Balance: Specify which load balancing method can be used in this Backend Server.
- Timeout: To specify the Session timeout between the nBalance and the Backend Server.
- IP Persistence: IP persistence, also known as session persistence or sticky sessions, is a feature in nBalance that ensures that a user's requests are consistently directed to the same backend server during a session. This is important for applications that store session data on the server side and need to maintain continuity for a specific user throughout their interaction.
- Cookie Persistence: Cookie persistence ensures that a user's requests are consistently directed to the same backend server during a session. We use these applications to store session information in cookies and need to maintain continuity for a specific user throughout their interaction.
- Server name: server name is the FQDN of the real/backend servers and the IP address is the real/backend servers. The port which is active on the real server.
- HTTP Check: "https check" refers to a health check mechanism where HAProxy actively attempts to establish a secure (HTTPS) connection to a backend server to verify its availability and responsiveness.
- Add server name.
- Give IP address.
- Click on ADD SERVER
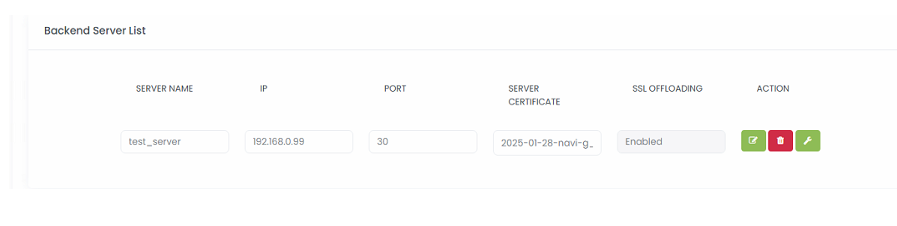
Add Server with SSL offload enabled and server certificate

- Add server name.
- Give IP address.
- Give port
- If you need to Enable SSL offload tick the check box.
- If need to make it Passive tick the check box.
- If need to add Server certificate select it from the list.
- Click on ADD SERVER
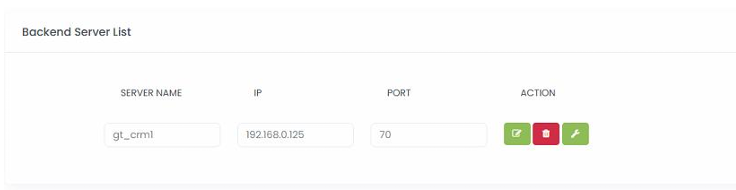
Added Backend Server List
- lick on> UPDATE button will provide to change each field with new or changed content.
- Click on> DELETE will delete the backend server
Add Server with FE Source for SMTP
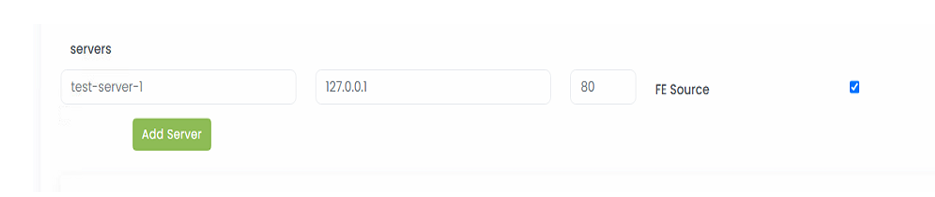
- Add server name.
- Give IP address.
- Give port
- If you need to Enable FE Source tick on the check box
- Click on ADD SERVER.
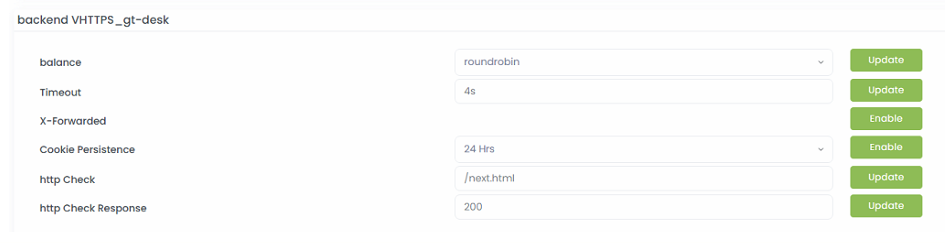
HTTP Check Add the page eg: /home.html and click on Update button HTTP Check Response Add the value to the textbox and click on update. Click on the ENABLE button will enable IP Persistence Cookie Persistence Add Expire time on the text box and click on ENABLE button will enable Cookie Persistence.
Add Additional Backend Server
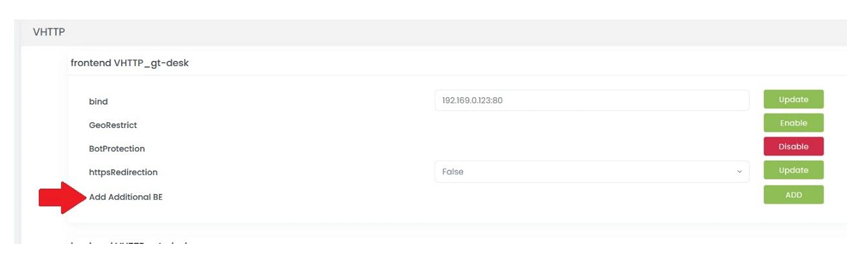
- Click on > ADD button.
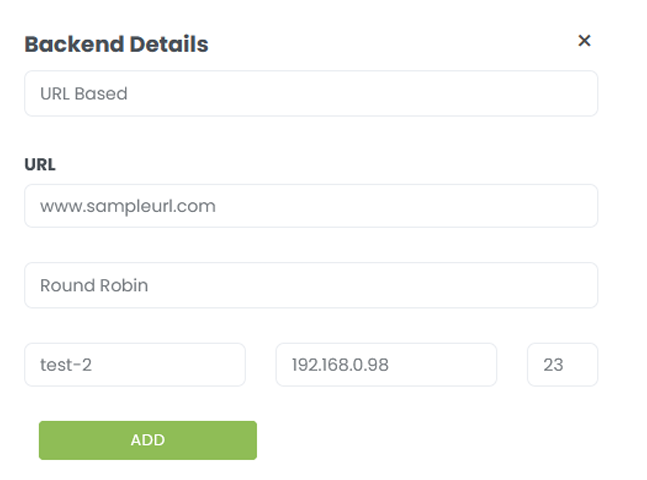
- That will open Backend Details.
- The first list will give two options. Select any as per your requirement.
- Enter all other details, as shown in the image below.
- Click on > ADD button will create an additional backend.
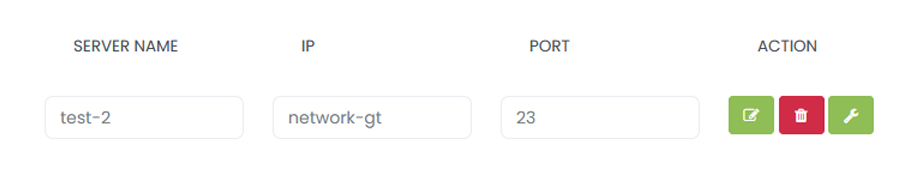
Output for after adding Additional Backend Server
Enable or Disable X-Forwarded
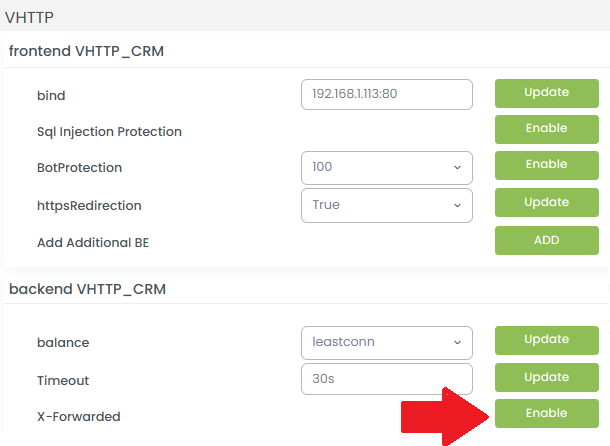
- Click on > Enable button.
- Activate X-Forwarded for.
- Click on > Disable deactivate X-Forwarded for.